Last updated on May 8, 2026
Cloning a hard drive can feel like watching paint dry—you start the process, expect it to be quick, but hours later, it’s still crawling. If you’ve ever wondered, “Why is cloning my hard drive taking forever?” you’re not alone. Many users, especially those new to disk management, face this issue. In fact, this type of system operation delay is a common frustration, much like when users encounter windows system restore taking a long time. Whether you’re upgrading to a faster SSD or backing up data, understanding the reasons behind slow process times is key. This guide will break down the problem, analyze typical cloning durations, list six common reasons for delays, and provide five practical solutions. By the end, you’ll have a clear action plan to tackle slow cloning like a pro. Let’s dive in!

How Long Should Cloning a Hard Drive Realistically Take?
Before panicking about slow speeds, it’s helpful to know what a “normal” cloning time looks like. Cloning duration isn’t fixed; it depends on several factors. As a rule of thumb, the time required is roughly equal to the amount of data divided by the transfer speed. For example:
- A 500GB drive with a SATA III connection (up to 6 Gbps) might clone in 1-2 hours.
- The same drive via USB 2.0 (max 480 Mbps) could take 4-8 hours or more.
💡 Independent benchmarks from platforms like TechSpot and StorageReview indicate that average read/write speeds for consumer HDDs typically range from 80-160 MB/s, while SSDs can hit 500 MB/s or higher. But real-world speeds are often lower due to system overhead. So, if you’re cloning a 1TB drive, expect anywhere from 2 to 6 hours under ideal conditions. If it’s taking significantly longer—say, over 10 hours – it’s a sign of an underlying issue. This analysis helps you gauge whether your clone is on track or needs troubleshooting.
6 Key Reasons Why Your Disk Cloning Process Is So Slow
Understanding the root causes can save you time and frustration. Here are six common reasons why cloning a hard drive takes forever, explained in simple terms.
Reason 1. Large Amounts of Data
The more data you have, the longer it takes. Cloning 2TB will naturally be slower than 500GB. If your drive is nearly full, the software must copy every sector—even empty ones in some cases—adding to the time.
Reason 2. Slow Connection Interface
Your connection type hugely impacts speed. Older USB 2.0 ports max out at 480 Mbps (about 60 MB/s), while SATA III supports up to 6 Gbps (600 MB/s). ⚠ Using a slow connection is like trying to fill a pool with a garden hose instead of a fire hose!
Reason 3. Source or Target Drive Health
Bad sectors or aging drives can slow reads/writes. Industry analysis, including reports from Tom’s Hardware, shows that drives with developing bad sectors can experience speed reductions of 50% or more during extensive read/write operations. If your hard drive is old or failing, cloning will crawl.
Reason 4. High CPU or Memory Usage
If other programs are running, they compete for resources. Cloning software needs CPU power to manage data transfer; high usage from apps like browsers or games can drastically slow it down.
Reason 5. Inefficient Cloning Software
Some free tools lack optimization, leading to slower transfers. Professional software often uses smarter algorithms to speed things up.
Reason 6. Background Processes or Fragmentation
Your operating system might be running updates or antivirus scans in the background. Also, a highly fragmented HDD can increase seek times, delaying the clone.
How to Fix a Slow Cloning Process: 5 Effective Solutions
If your hard drive or SSD clone is taking forever, don’t worry—these five solutions can help speed it up. Start with the simplest fix and work your way down.
💡 Solution 1: Be Patient and Let It Finish
Sometimes, the best action is inaction. Cloning is a precise process that shouldn’t be interrupted. If you’ve checked that connections are secure and the progress bar is moving (even slowly), give it time. Aborting mid-clone can corrupt data. 💡 Set it up overnight or during a break to avoid frustration.
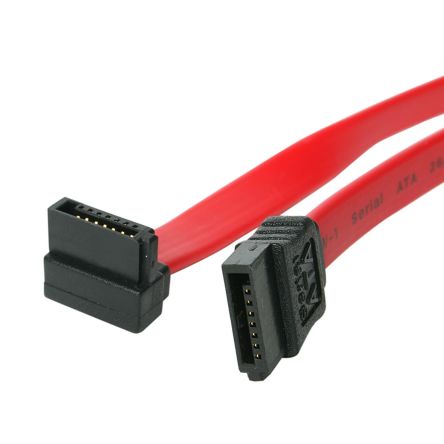
💡 Solution 2: Switch to a Faster SATA Connection
USB ports are convenient but often slower. For internal drives, use a SATA connection directly on the motherboard. SATA III offers speeds up to 10x faster than USB 2.0. If you’re using an external dock, ensure it supports USB 3.0 or higher. This simple swap can cut cloning time by half or more!
💡 Solution 3 (Recommanded): Use Optimized Software Like WittyTool Disk Clone
The cloning software you use is critical. Basic tools can be slow and inefficient, turning a simple upgrade into a marathon.
For a faster, more reliable process, we recommend WittyTool Disk Clone. It’s engineered for speed and stability, using intelligent algorithms to skip unused sectors and copy only essential data. This makes it ideal for various tasks, whether you need a speedy USB clone tool, want to clone SD card, or replace hdd with ssd.
Ready for a faster clone? Download WittyTool Disk Clone Now and follow the simple steps above to complete your disk upgrade quickly and securely.
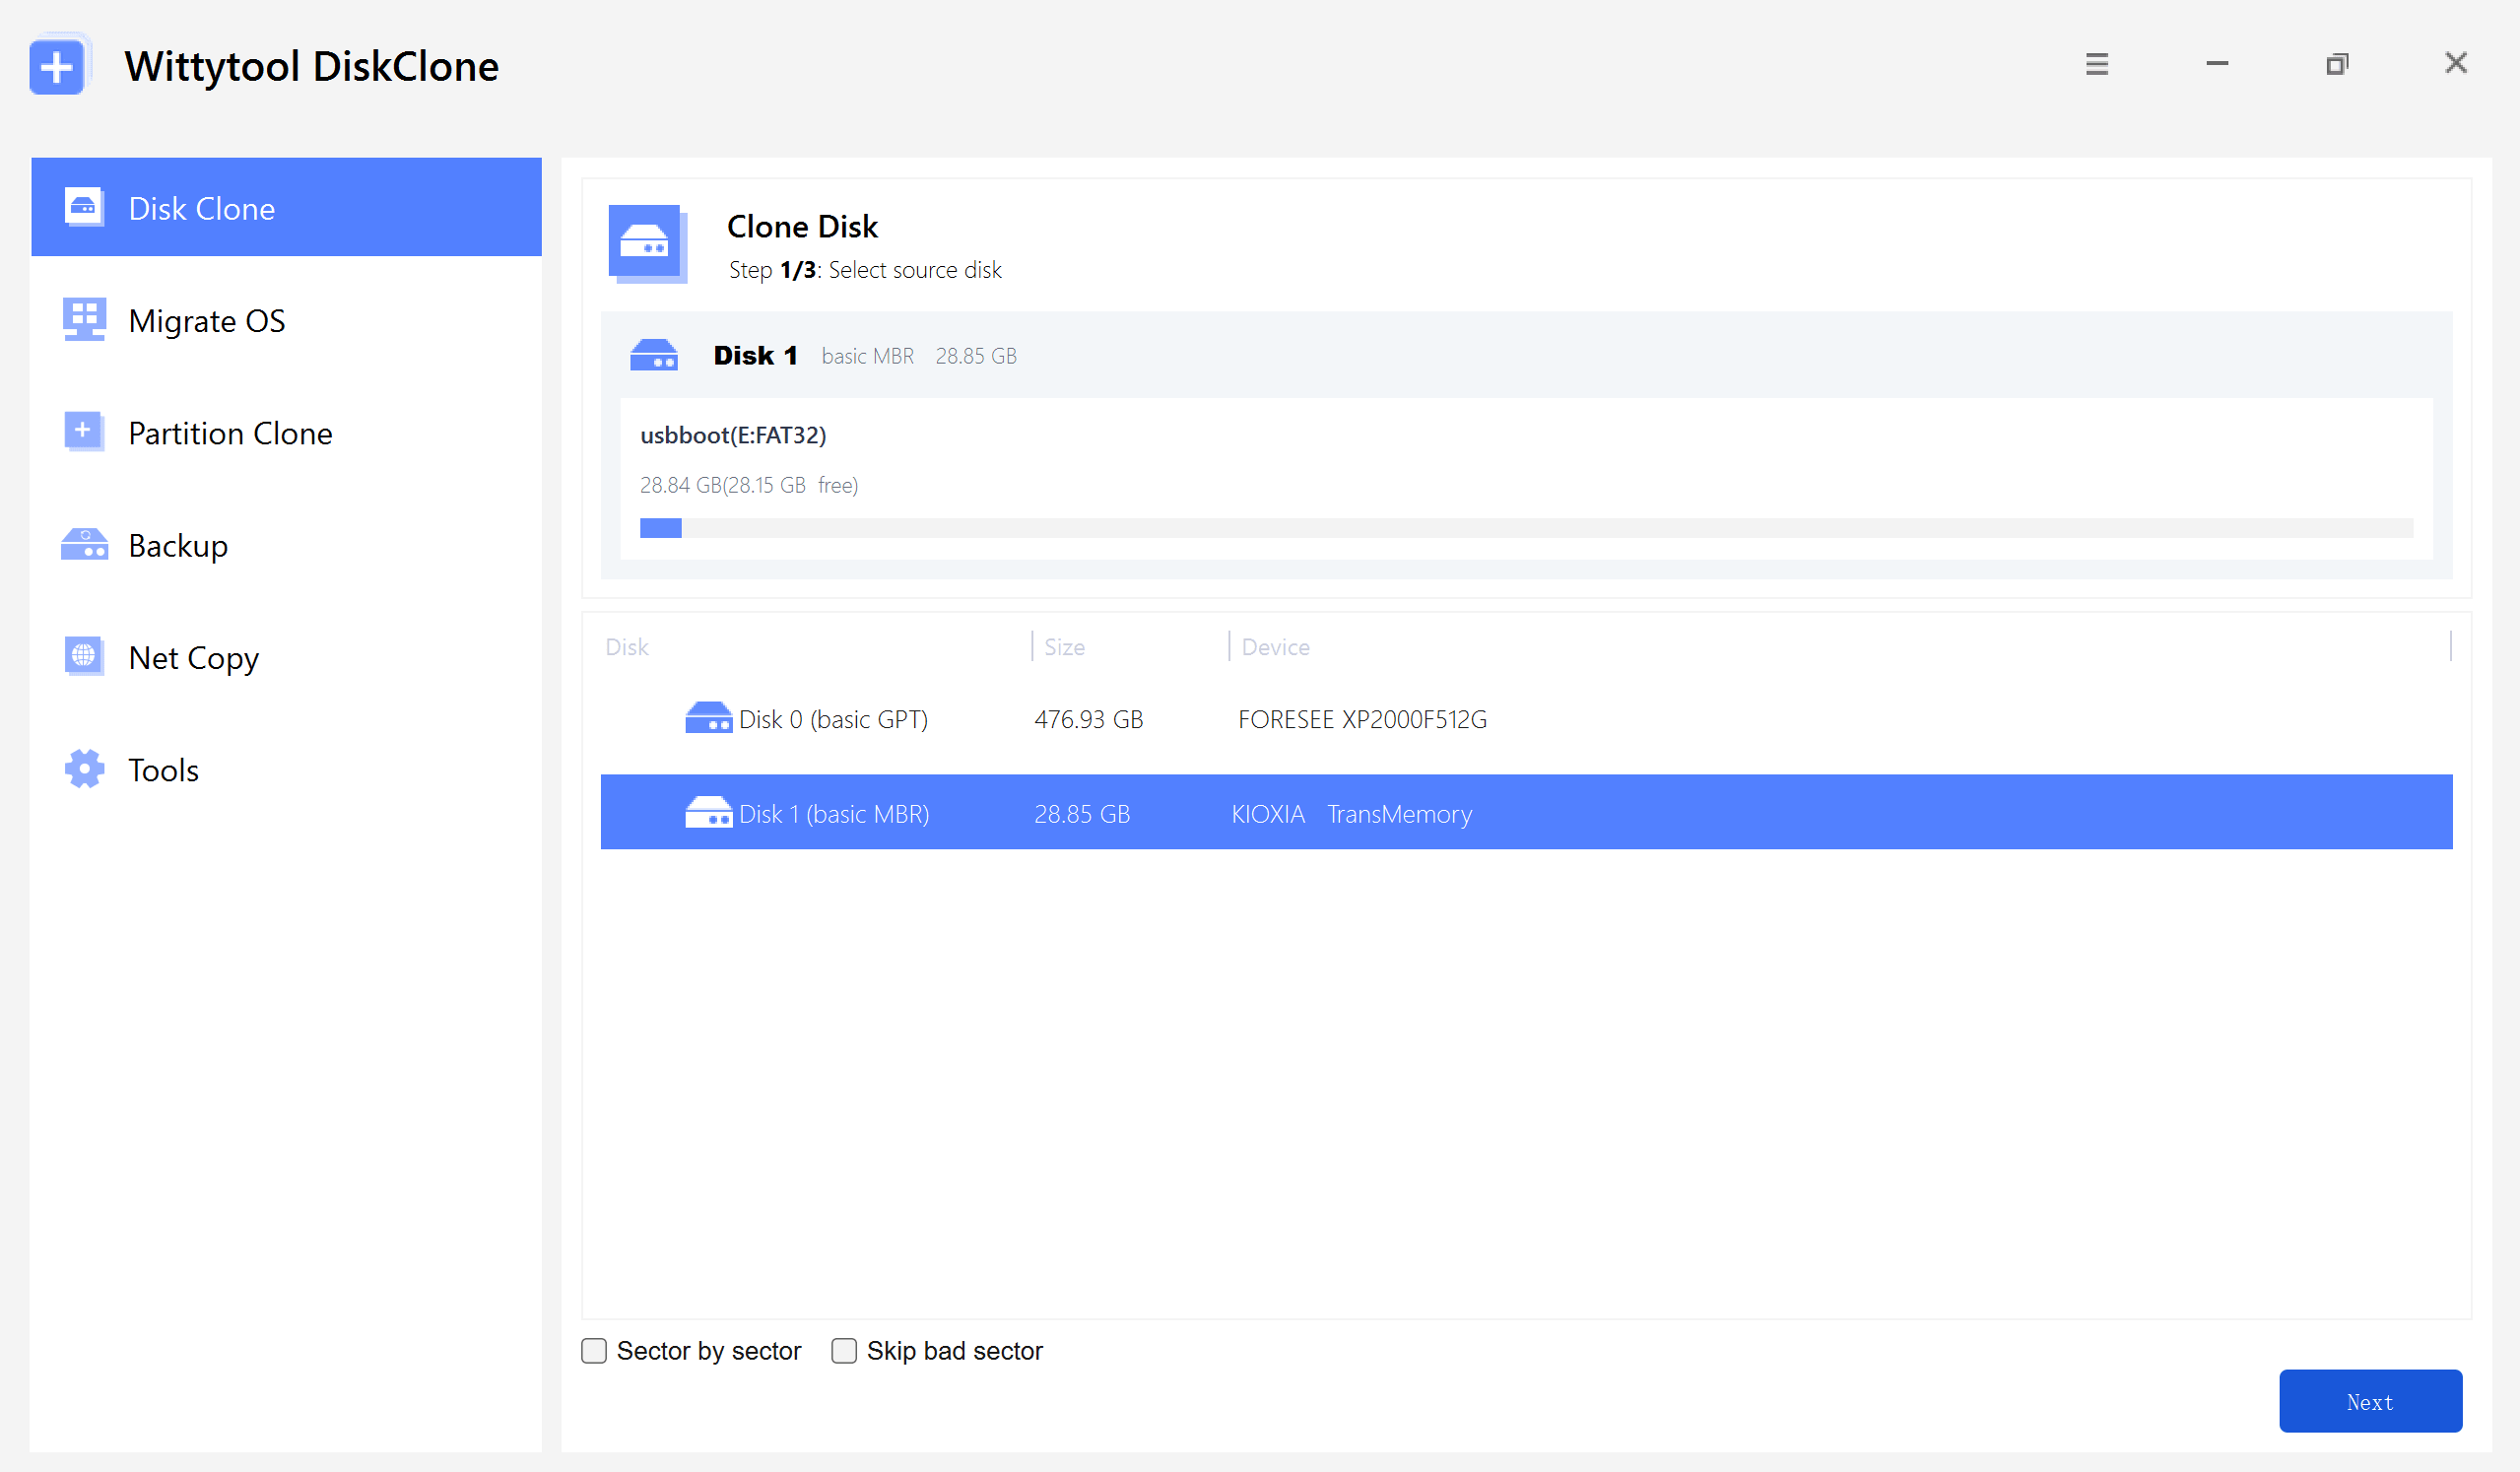
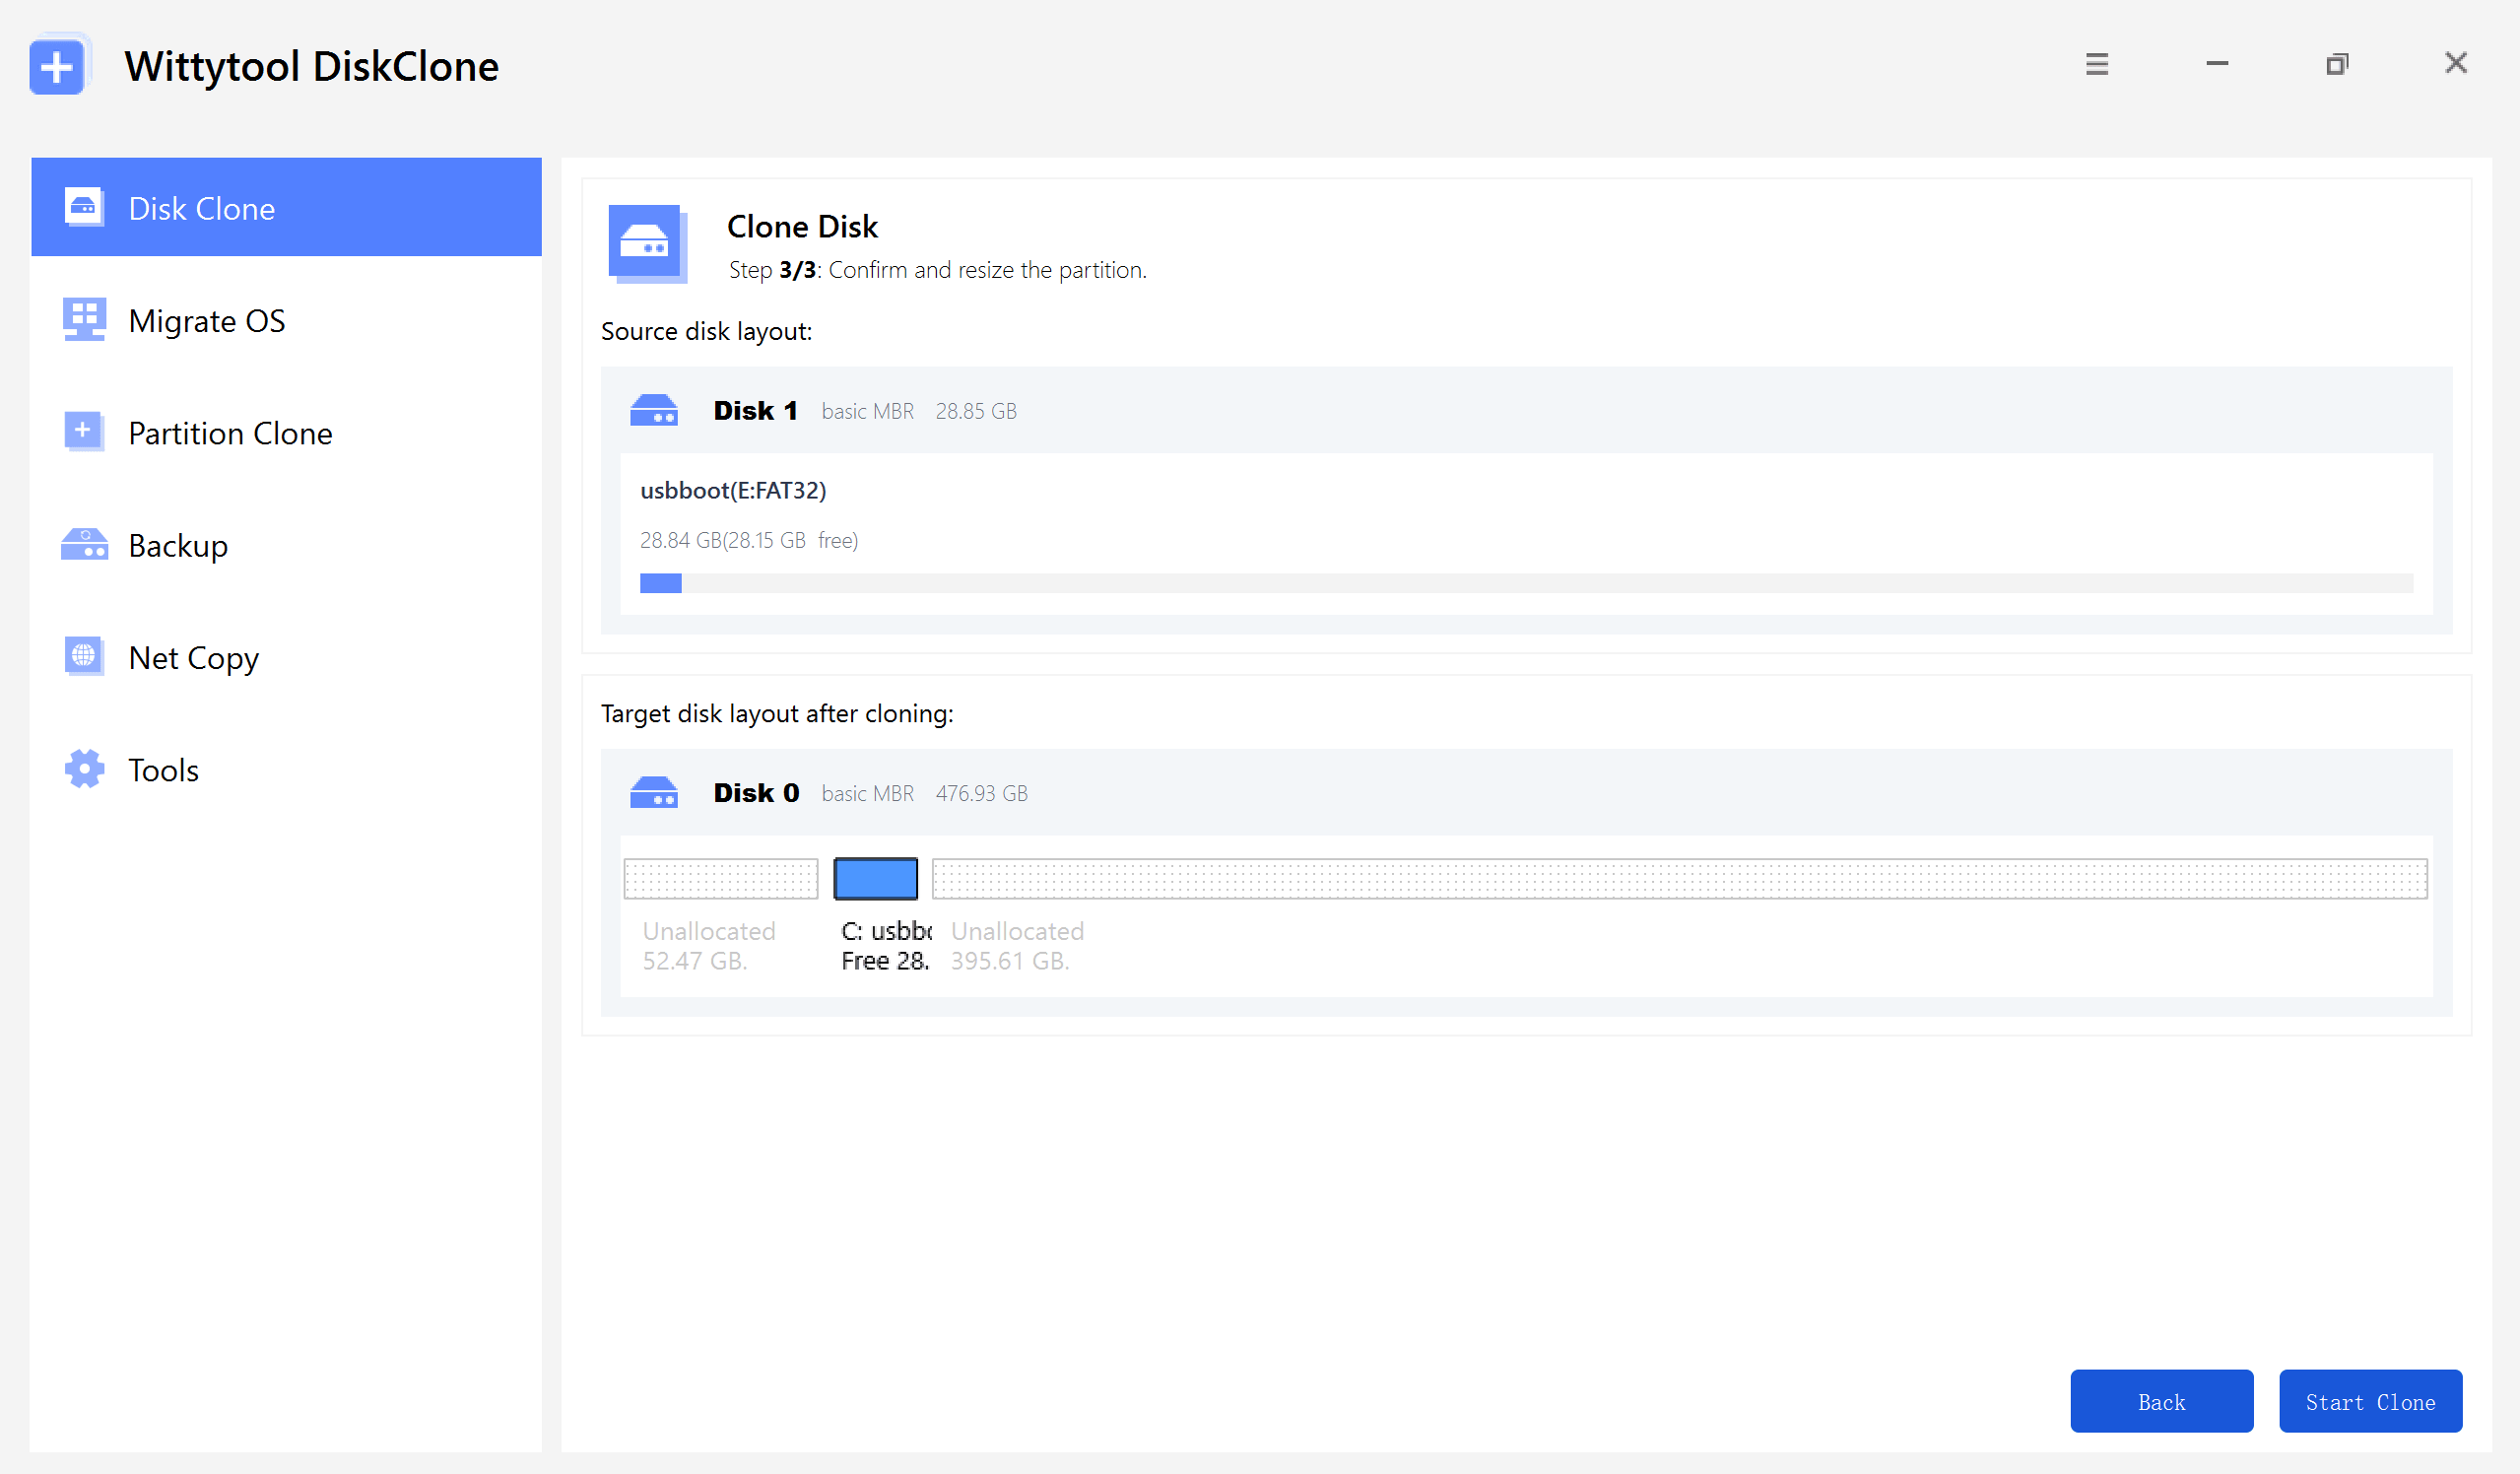
Step 1: Select Disk Clone (or Partition Clone for a nearly identical workflow), then choose your source disk and click Next.
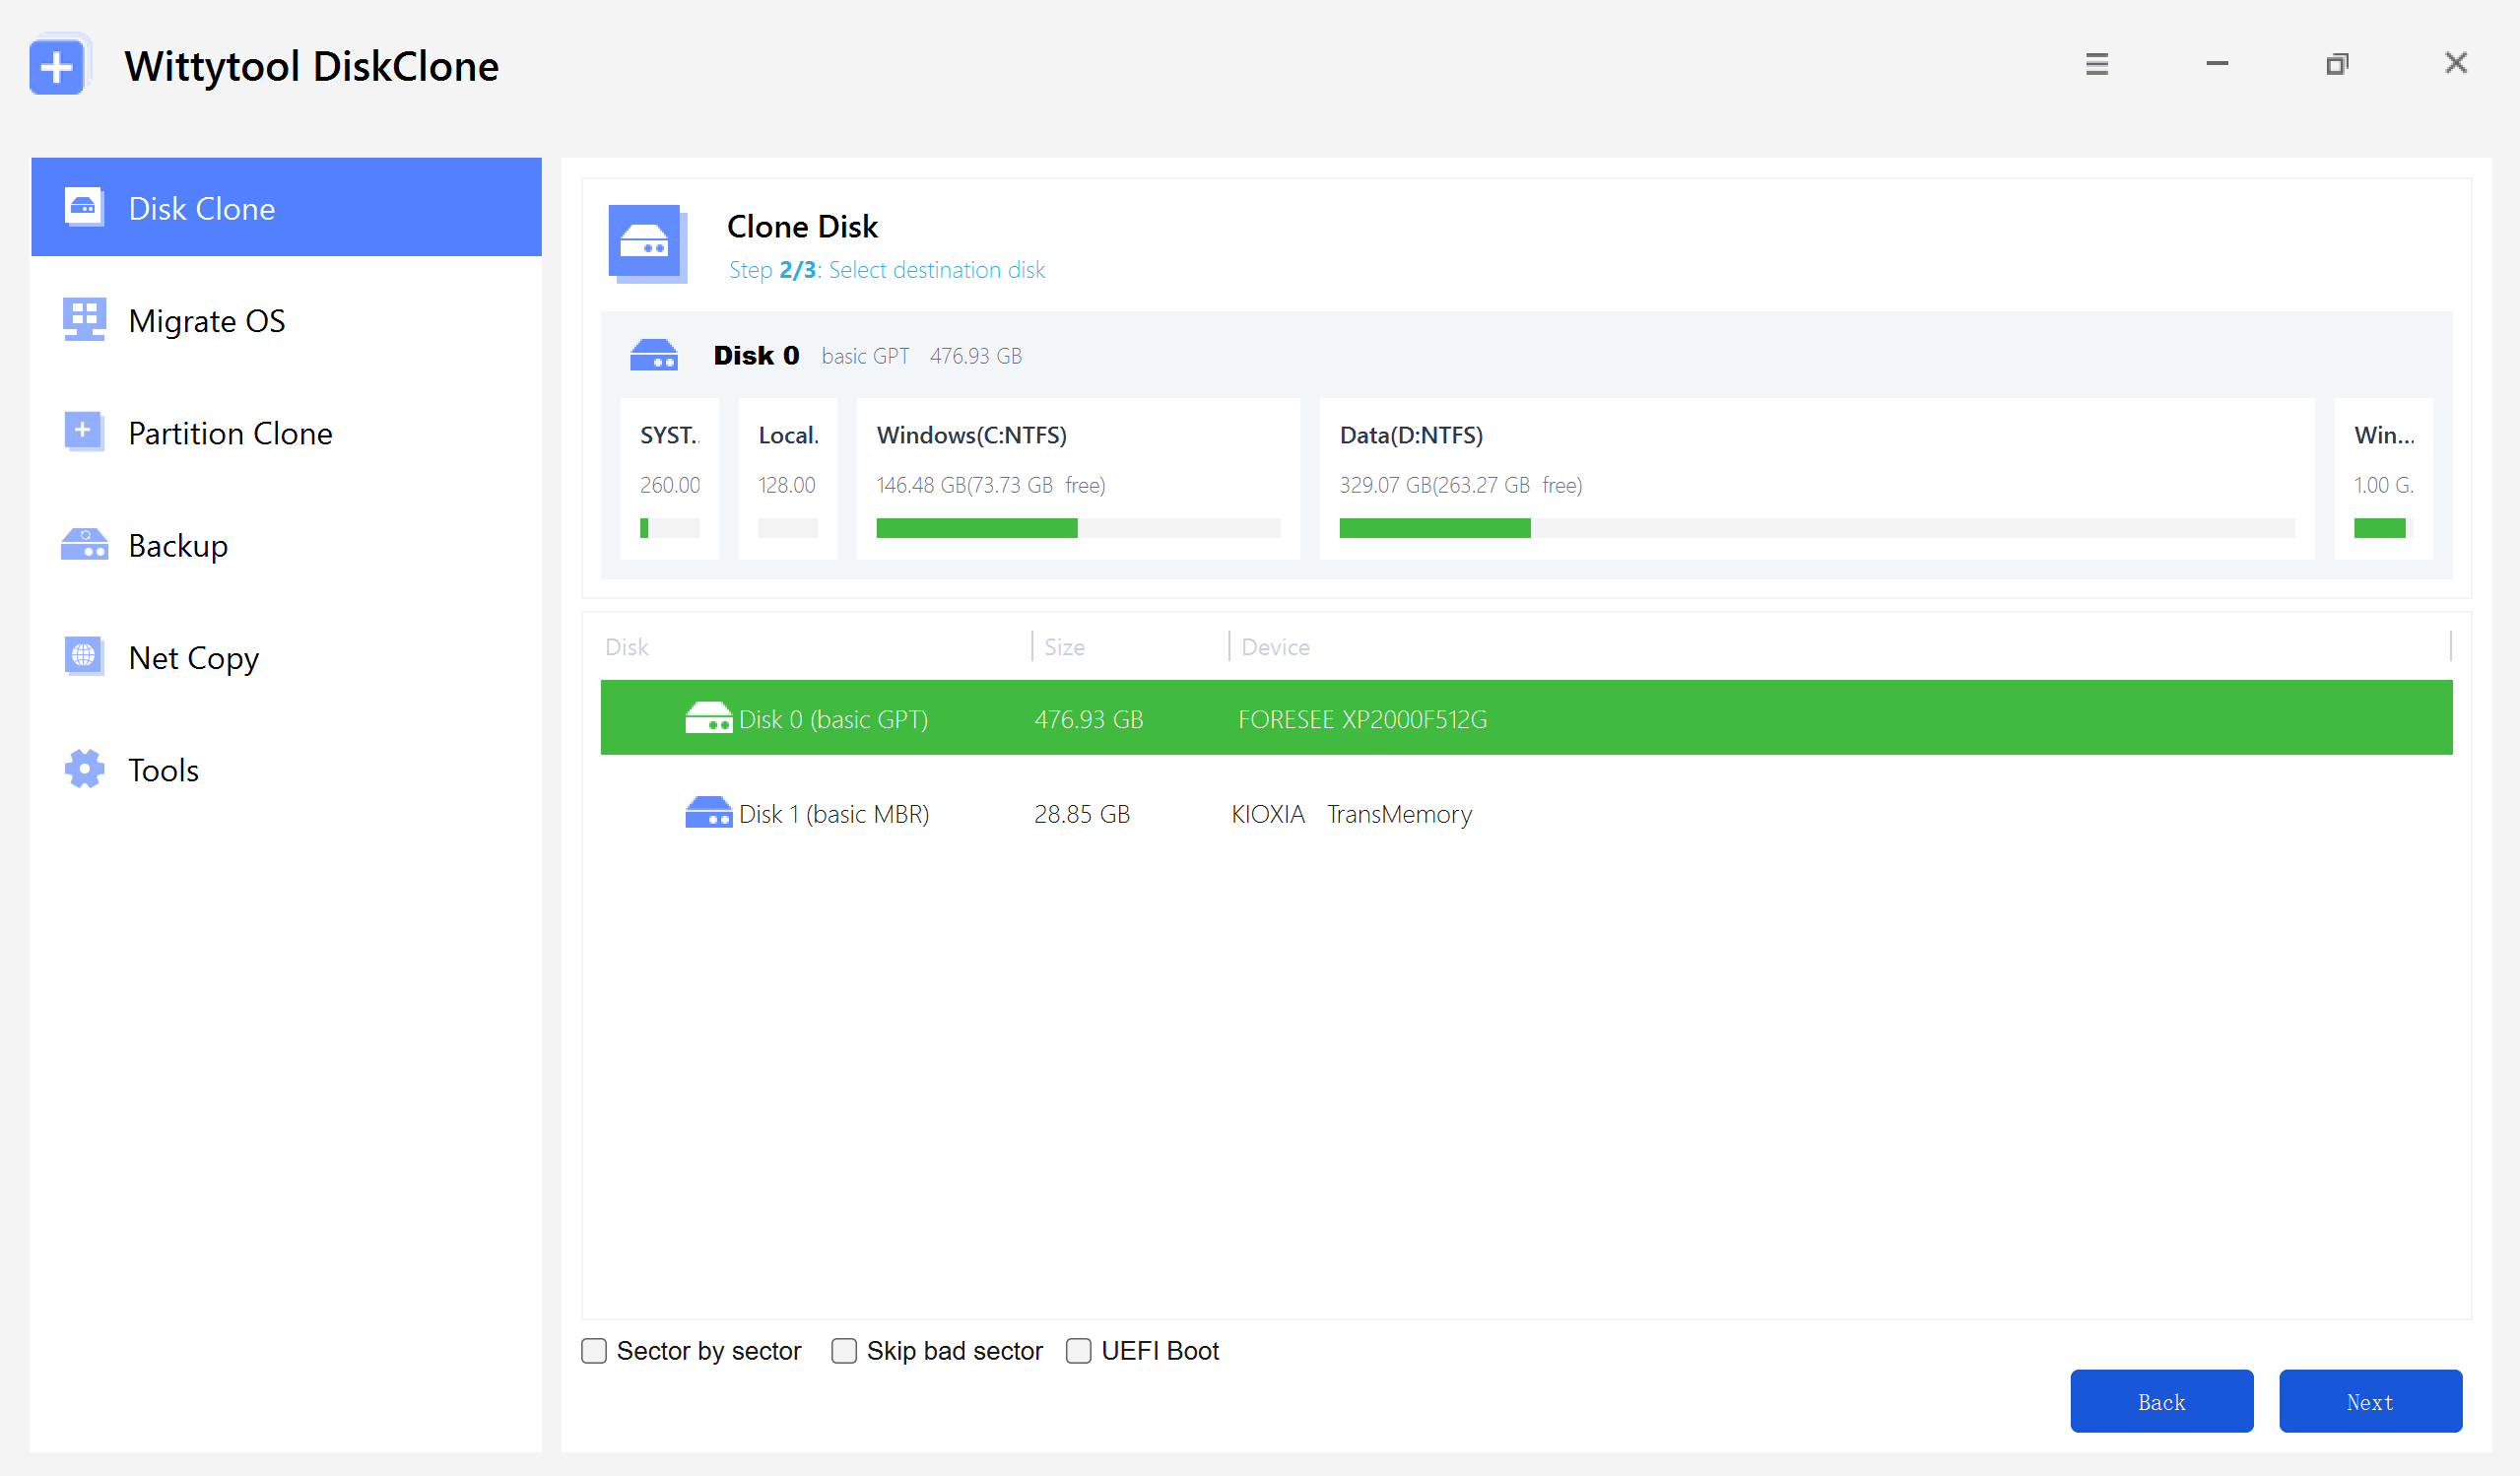
Step 2: Choose your destination disk and click Next to access the configuration settings.
Here, you can enable sector-level cloning, skip bad sectors, or check the UEFI BOOT option to convert the boot mode, ensuring the drive is fully compatible with the UEFI firmware of modern motherboards.
Step 3: Resize the partitions on the target disk layout as needed to fit your requirements, then click the “Start Clone” button to begin the cloning process.
Watch the Disk Cloning Video Guide with Wittytool Disk Clone:
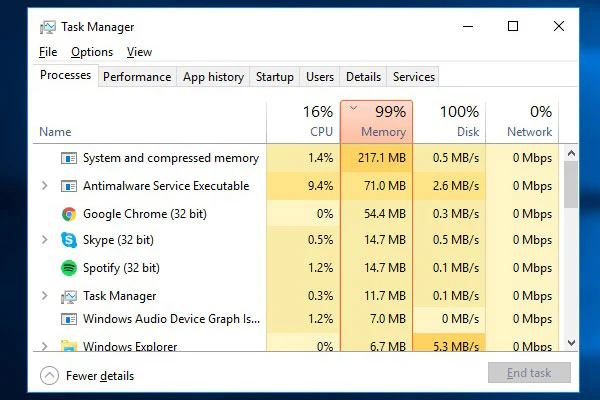
💡 Solution 4: Monitor and Free Up CPU and Memory
Before starting, close unnecessary applications. On Windows, use Task Manager (Ctrl+Shift+Esc) to check CPU and memory usage. Aim for under 50% usage for smooth cloning. Also, temporarily disable antivirus scans or updates that might run in the background.
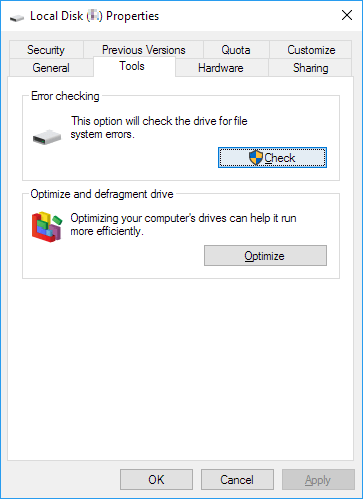
💡 Solution 5: Swap the Target Disk for a Healthy One
If the target drive has issues, it can bottleneck the process. Use Windows in-built tool to check drive health. Replace it with a new, fast SSD or HDD if needed. A healthy target ensures writes happen quickly, preventing delays.
Conclusion
Cloning a hard drive doesn’t have to be a marathon. By understanding factors like data size, connections, and drive health, you can troubleshoot slow speeds effectively. Remember, patience is key, but solutions like faster interfaces or efficient software from Wittytool can make a huge difference. Always back up data before cloning, and don’t hesitate to seek professional help if issues persist. With these tips, you’ll turn a forever-long clone into a smooth, manageable task.
People Also Ask
Q1: Can I use my computer while cloning a hard drive?
A: It’s not recommended. Running apps or browsing can slow the clone and risk errors. For best results, let the process run uninterrupted.
Q2: Will cloning slow down my new SSD?
A: No, if done correctly, cloning transfers data exactly. An SSD should perform faster than an HDD. Ensure the clone is complete and you’ve optimized the SSD after installation.
Q3: Why does cloning get stuck at a certain percentage?
A: This could indicate bad sectors or software issues. Try using a different cloning tool or check the drives for errors with built-in utilities like CHKDSK.
Q4: How often should I clone my hard drive?
A: For backups, aim for every 6-12 months, or before major updates. Regular clones keep your data safe without frequent time investments.
Q5: Is cloning better than a fresh install?
A: Cloning saves time by copying everything, including settings. A fresh install is cleaner but requires reinstalling apps. For quick upgrades, cloning is often preferred.